Three Minute Gourmet Microwave Breakfast

Three Minute Microwave Gourmet Breakfast


I don’t know about you, but I usually wait for the weekends to make a gourmet breakfast. No time to waste during the week. I usually hit the snooze button for the umpteenth time before I have to drag my butt out of bed.

Breakfast is my favorite meal of the day. I love it so much that I even eat it for dinner from time to time.

Here is a perfect recipe to get a yummy start before heading off to a busy day.
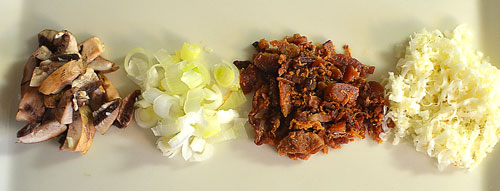
ingredients in the gourmet microwave omeletYou’ll Need

1/3 cup All Whites or 2 large eggs
2 Tablespoons of milk
1 Tablespoon of real bacon bits, or baked ham lunch meat (optional)
1 Tablespoon of your favorite veggies. I used a green onion and mushroom
2 Tablespoons of your favorite cheese (shredded)
Salt and pepper to taste

Let’s get started…

In a small microwave safe dish, or a coffee cup, mix together eggs, milk, bacon, and veggies. Microwave on high for 1-1/2 minutes.

Sprinkle cheese on top and microwave until cheese is melted; about 10-20 seconds depending on how much cheese you use.

Recipe calories is 279, including bread.
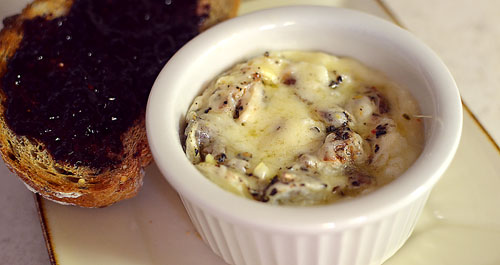
Three Minute Gourmet Microwave Breakfast While your eggs microwave, toast a slice of bread, and top it with your favorite fruit spread. I recommend a multi grain Tuscany style loaf. Yummy!

Tip: If you use bacon bits, or a salty meat, you may want to omit the salt until you taste it.

Done! Breath deep. It’s going to be a great day.

I would love to hear from you. Contact me because this girl likes to eat.


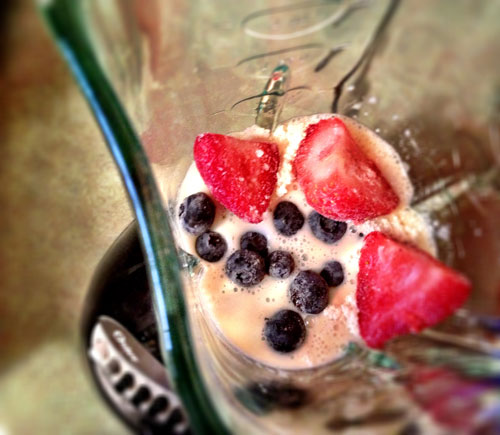
smoothie preparation

Frozen Fruit Smoothie


We’re big on fruit smoothies. I make one just about every day. I would really like to add beer, but this is for breakfast after all. Ha!

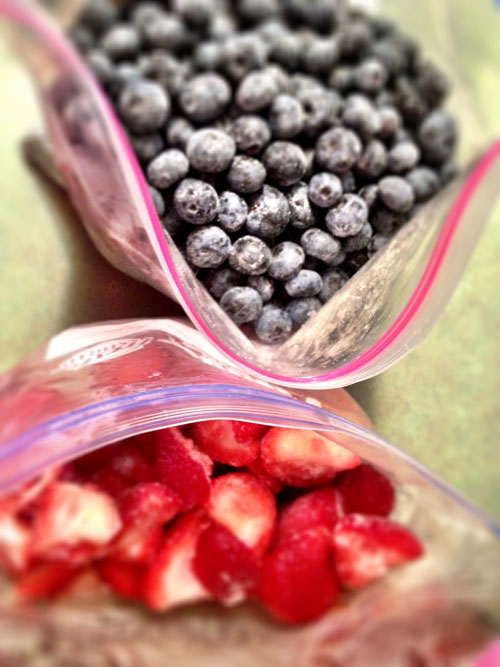
frozen fruitSAM’s Club has yummy produce. I buy bulk fruits, clean them, and toss in a Ziploc freezer bag. We always have blueberries, strawberries and bananas on hand.

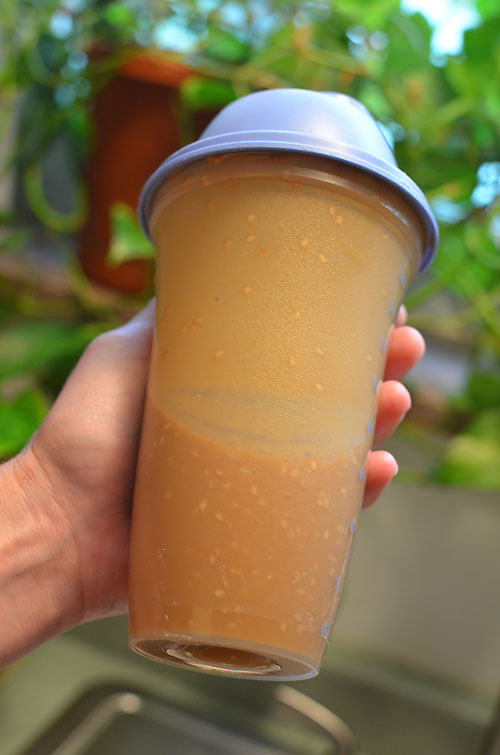
smoothie preparationInstead of ice, I use frozen fruit to make it rich and thick. I use one cup of milk, a scoop of protein powder (optional), and whatever fruit that tickles my fancy. Toss it in a blender until blended. Done!

Sometimes I add in a spoonful of peanut butter. Very. Delicious.

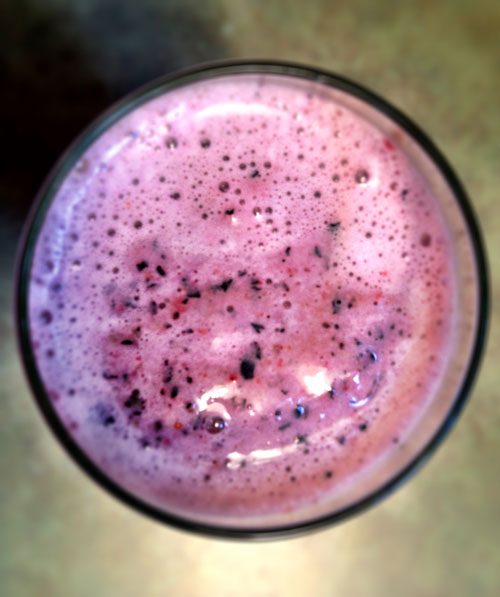
breakfast smoothieA smoothie for breakfast really jump starts the day, and only takes five minutes to whip up.

Be creative! What do you like?

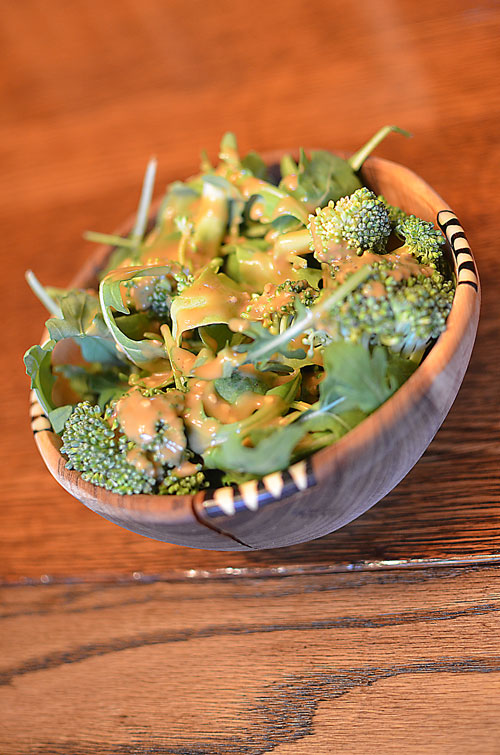
sesame peanut dressing on the salad

Sesame Peanut Dressing


Dedicated to our friend Ron.

Ron said, “I’m looking for a good sesame, peanut dressing. Can you come up with something for me?”

Me in response, “Hells yay!” I too love sesame and peanut’y tasting dressing. I’m actually shocked that I didn’t try this before. So, after a few failed attempts, I came up with this dressing.

You’ll Need:

1/4 cup of rice wine vinegar

1/2 cup of sesame oil

1/4 cup of creamy peanut butter

3 teaspoons honey

1/4 cup of soy sauce

1/3 cup of water

2 tablespoons of toasted sesame seeds

1/4 teaspoon of red chili paste (optional)

IMPORTANT: Do not substitute the rice vinegar with other vinegars. Trust me, I learned the hard way. The ‘other’ vinegars make it too sour.

shake up the ingredientsVery Hard Instructions:

Toss it all in a shaker and shake.

sesame peanut dressing on the saladPour over your favorite mixed greens. It’s also great over grilled chicken, and even roasts.

Ron, let us know what you think. We hope you like it. Keeping our fingers crossed. Haha!

Enjoy!


Do you have something you want us to create? Please share because this girl likes to eat.
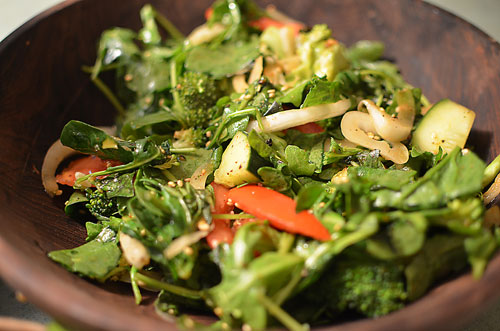


finished salad

Low-Cal Salad Dressing


Since the girl likes to eat A LOT, she needs to watch what she eats. On occasion.

Actually, this healthy twist is a fully awesome alternative to regular store bought salad dressings.

sprtiz with misto

Put a few spritz on your salad using a Misto with extra virgin olive oil. This will help hold the seasons to the leafy greens.

Every time I make a salad I try different greens to give it a variety in flavor. Especially, when we eat salads just about every day. For this salad I used:

Spinach

Plum tomatoes

Baby arugula

Fresh basil leaves

Sweet onion

Cucumber, skin on

Toasted sesame seeds

I always have a bag of toasted sesame seeds in my cupboard, and add it to many dishes. Sesame seeds give a great peanut’y crunch to your food.

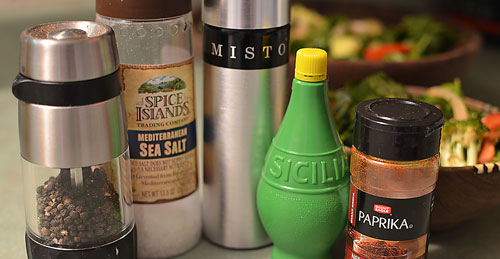
ingredientsFor the dressing I just use spices in my cupboard. I also change the spices for each salad to give it a different flare. For this salad I used:

Crushed sea salt

Fresh cracked pepper

Paprika, a few dashes

Lime juice, a few squirts

finished saladMisto your greens, sprinkle on the spices and toss. That’s it!

I highly recommend you play around with your spices. It’s lighter and gourmet.

What are your favorite spices? Please share because this girl likes to eat.
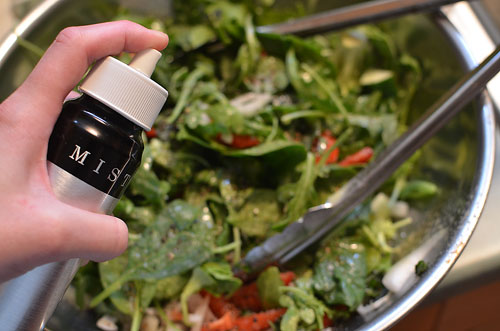
 

photo by Jenny MacBeth

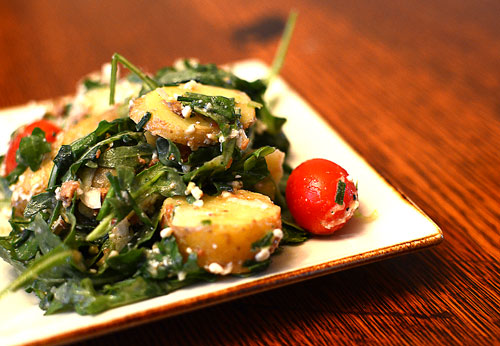
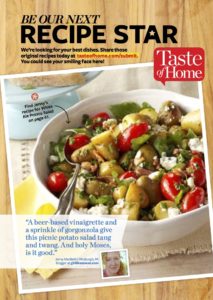
Holy Moses White Ale Potato Salad

taste of home simple & delicious featureFeatured in Taste of Home Simple & Delicious

This potato salad and the Kale salad are great for hot, outdoor picnics because it does not call for mayo. It calls for beer. And, who doesn’t like beer? I’m not a potato salad fan, but I have to say, “I really love this.”

I’m not a fan I guess because most people use Miracle Whip, and I’m always hesitant to eat a mayo based salad on a hot day, especially, when it sits out for more than an hour. This salad has a longer picnic-table-shelf-life.

Let’s get started…


You’ll Need:

1 (24 oz.) bag of Fingerling potatoes

4 cups of baby arugula, or chopped kale

1 (11-12 oz.) package of grape tomatoes (or cherry)

2/3 cup crumbled bacon

6 green onions, diced (about 1 bunch)

1/2 cup of chives
, diced


1 (4 oz.) package of Gorgonzola crumble cheese

Dressing Ingredients


1 package of Good Seasons Italian dressing mix


1/2 cup of white ale style beer
 (drink the rest)

2 tablespoons of Dijon mustard

2 tablespoons of Balsamic vinegar

3 tablespoons of extra virgin olive oil

Prep

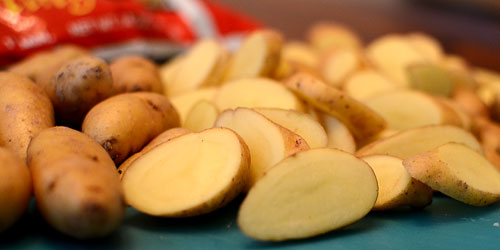
photo by Jenny MacBethYou can cut the potatoes anyway you wish, however, I like cutting them at an angle. It makes it look more fancy, I think.

photo by Jenny MacBeth

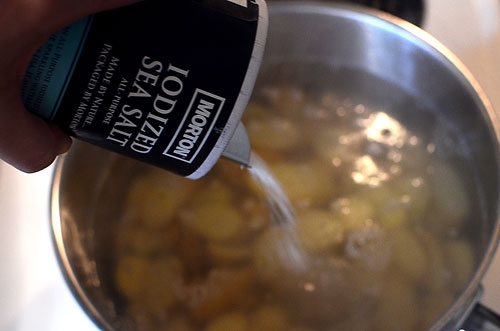
Boil the potatoes in a little sea salt for about 6-8 minutes, or until ‘fork’ tender. Drain and let cool.

photo by Jenny MacBeth

While the potatoes boil, chop up your chives and green onions.

For the bacon, I bought a big bag of Hormel Real Crumbled Bacon, and have been keeping it in my freezer.

You can cut the tomatoes in half if you like, but I think it makes the salad soggy. Not to mention, it’s more work.

Whisk your dressing ingredients together. Very important: Consume the other 1/2 of the beer. Cooks don’t waste!

photo by Jenny MacBeth

In a large bowl, toss in all the ingredients with the Gorgonzola cheese. If you do not like the blue taste of Gorgonzola, use feta. Feta gives the salad a milder taste.

Pour the dressing over the salad and gently toss.

Tip: If you use baby arugula, you can get everything ready the day before. However, wait to toss it before you serve it. The arugula can become wilted. Kale is more hearty and can withstand sitting overnight in the refrigerator.

Secret Ingredient: I used Holy Moses White Ale by Great Lakes Brewing Co.

Enjoy!


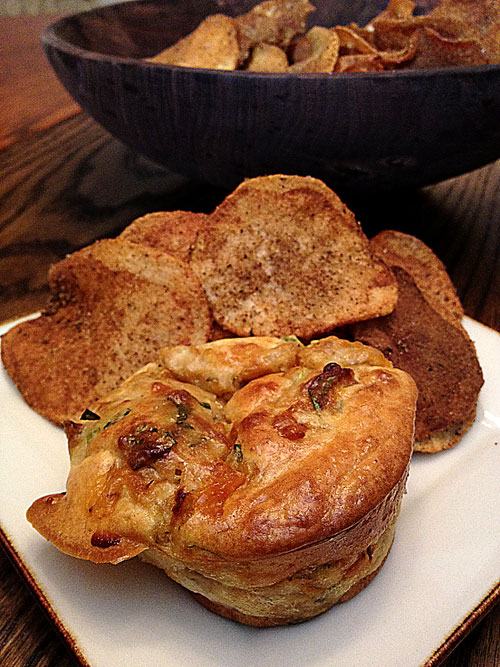
Tuna Melt Muffin with Old Bay Homemade Chips, photo by Jenny MacBeth

Tuna Melt Muffins


This little bad boy is a spin off to the Ranchero Chicken Muffins I made last week.

I’m not a big tuna-in-a-can kind of girl, or Tuna Melts for that matter. However, I had a few cans in the cupboard and thought, “Perhaps if I do something like the Ranchero Chicken, I might like it?” So I did.

I went around asking a few friends, “What do you like in your Tuna Melt?” I picked a few items I would like, and that would hide the flavor of the canned tuna. =)

You’ll Need

3 (5 oz.) Cans of Chunk Light StarKist Tuna (in water)

1 Cup sweet onion

2 Celery ribs

1/4 Cup green olives

1/3 Cup roasted red peppers (from a jar)

1/2 Cup of parsley

3 Tablespoons of melted butter

2 Cups of sharp cheddar cheese (shredded)

Sea salt and pepper to taste

For the Batter

For the batter

1/2 cup milk

2 eggs

1/2 cup of Bisquick

Let’s get started…

Preheat oven to 375.

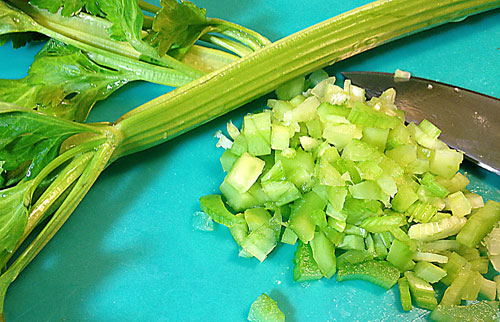
photo by Jenny MacBethDice up the celery. Toss it in a mixing bowl.

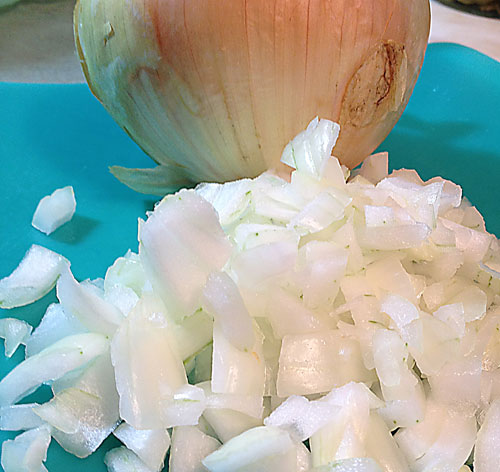
photo by Jenny MacBethDice up the onion. Toss it in a mixing bowl.

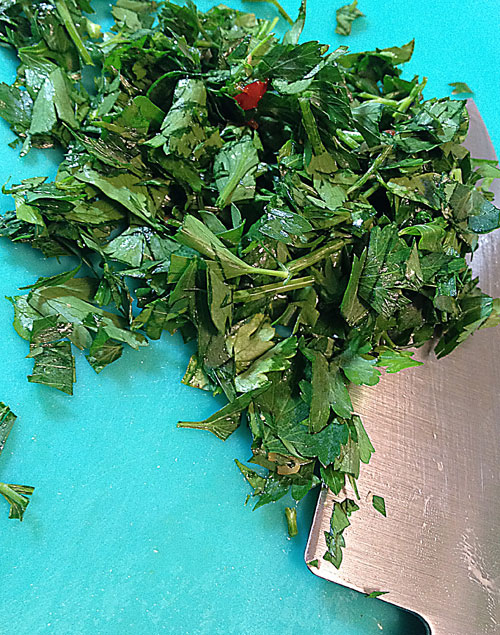
photo by Jenny MacBethContinue to dice up the parsley, green olives, roasted red pepper. Toss it in a mixing bowl.

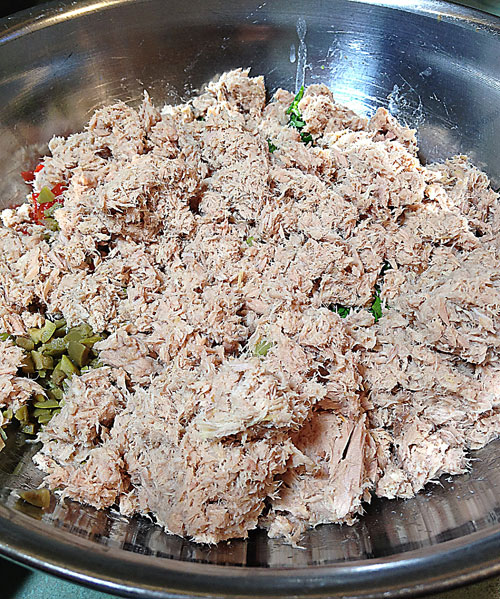
photo by Jenny MacBethDrain your tuna. You want to make sure all the water is out. Squeeze the excess water out with your hands making sure the tuna is dry. Toss it in the mixing bowl.

Pour the melted butter on top, and mix the ingredients together with your hands. I love using my hands because it reminds me of when I was small making mud pies. Only I didn’t find those so yummy.

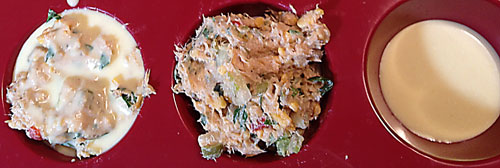
photo by Jenny MacBethSame theory as the Ranchero Chicken Muffins. I used a silicone muffin pan. LOVE it! If you use a tin pan, you’ll need to use cooking spray.

Pour a tablespoon of the batter into each muffin cup. Then place about two tablespoons of the chicken mixture in each cup. Then spoon over the mixture two tablespoons of the batter as demonstrated above.

Bake for 45 minutes, or until the top of the muffin is nice and golden. Let cool for 5 minutes before removing.

Tuna Melt Muffin with Old Bay Homemade Chips, photo by Jenny MacBethServe with Tabasco sauce, and chips.

I made homemade Old Bay Potato Chips. Check it out.

Do you have any cool ideas for me to try? Let me know because this girl likes to eat.
Thanks for reading.


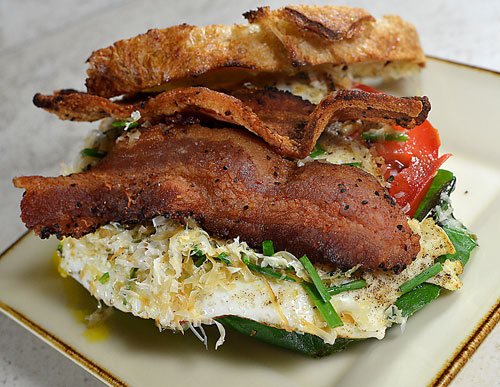
photo by Jenny MacBeth

Bacon, Egg and Smoked Gruyere Sandwich


Who doesn’t love breakfast for dinner? I was craving a good bacon, egg and cheese sandwich. After work, I headed over to the grocer and saw, “Apple Smoked Gruyere.” Boy, did that pull me in. -Snatched it and tossed it in the cart without a second look.

This is such a simple sandwich, yet you can do so much with it. Everything taste delicious with bacon.

Side note: Did you know that Bacon, Egg and Cheese has its own Wikipedia? It’s a popular food group.

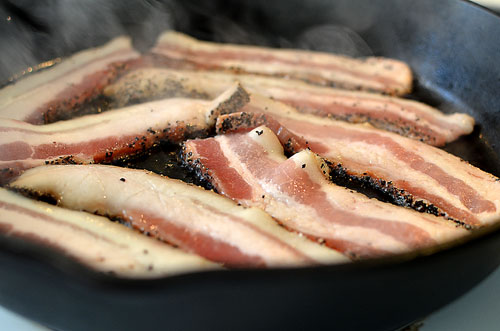
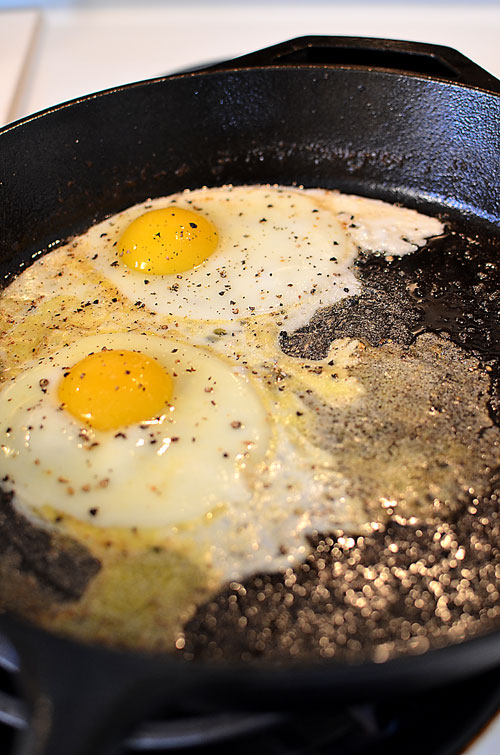
photo by Jenny MacBethA Cast Iron skillet is the secret ingredient to making yummy eggs and bacon. I love the bubbly-crispy edges you get around the egg white. It’s perfect every time.

For my bacon, I love apple smoked, or peppered, thick-cut bacon. I like all bacon, but I seem to buy those two flavors the most. I must be sucked into the marketing gimmick of “Apple Smoked.” It just sounds so heavenly, right?

photo by Jenny MacBethYou can make your sandwich anyway you want. Top it with all your favorites, but this is what I did.

For the bread I used leftover Pain de Campagne from the weekend. Whatever you use, make sure it’s nice and crusty. – A rustic bread helps make a plain sandwich gourmet.

Instead of lettuce, I used basil leaves and chopped up some chives. Using fresh herbs also helps make a plain sandwich pop.

And, the obvious…Bacon, eggs and grated Gruyere. – I just love saying Gruyere. I’m a big cheese fan, but this cheese is one of my all-time favorites. It melts so well, especially, freshly grated on top of the egg.

photo by Jenny MacBethJust look at the edges of the egg start to bubble and get crispy. Moan-worthy.

photo by Jenny MacBethToast your bread and lightly butter. I used a normal toaster, but you can butter the bread and toss in the skillet, or even grill it.

Layer on your basil, tomato, bacon, egg and sprinkle with chives. Add your ‘cherry on top’ the grated Gruyere. Done!

This is dinner and not breakfast, right? I’d pair this Apple Smoked sandwich with a cold Woodchuck Cider. It has a light apple flavor that’s just the thing to wash it down. Enjoy!

How do you like your bacon, egg and cheese? Please share because this girl likes to eat.
Thanks for reading.


Indian Cooking Class 1 – Khichari

My friend Margaret and I attended a free Indian cooking class at Northland Public Library. I highly recommend it.

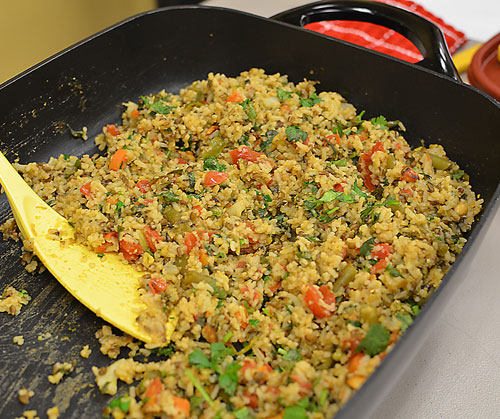
The Indian cook, Ann Manchella, prepared Kichidi (that’s the way she spells it. Most common is Khichari), a rice dish widely known in India as a comfort food. Ann demonstrated the preparation of the dish and served us tasty samples. – Reward without the effort. The only thing that would have stepped up this class is some Indian beer <wink>.

Here is the recipe and a few photos from the evening.

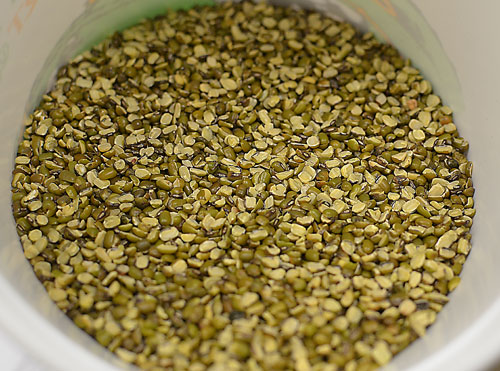
split moong, photo by Jenny MacBethSplit moong dal. This can be used in place of split red lentils. Either work well.

kichidi photo by Jenny MacBethDone!

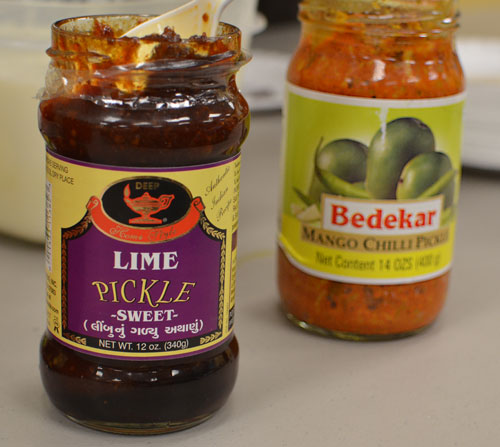
sauces photo by Jenny MacBethAnn and her team (husband), served the dish with plain yogurt and two spicy sauces. Love the spices in Indian food. I must get this.

The audience moaned when they were eating it.

We are headed back where Ann will make Puri, an unleavened Indian bread, to accompany Aloo Sabji, a potato curry; which I absolutely love.

Here is Ann’s recipe…

Ingredients:

1/3 cup of split red lentils, or split moong dal

1 cup basmati or other long-grain rice or brown rice

3 tablespoons of ghee or oil (ghee is easy to make. Click link for recipe)

1/3 cup of unsalted cashews

3 teaspoons of cumin seeds

1 tablespoon of fresh hot green chili, minced

2 tablespoons of minced fresh ginger

2 teaspoons of turmeric

1 teaspoon of yellow asafetida powder

3 cups of mixed vegetables: Chopped green beans, carrots, cauliflower, spinach (Ann says that you can use whatever veges you like)

5-6 cups of water (if needed)

1 1/2 teaspoons of salt

1 tablespoon of butter

1 cup of tomatoes, chopped

1/2 cup of chopped coriander leaves

1 bunch of curry leaves

Instructions:

  1. Boil water and add lentils or dal. After they are half-cooked, add rice and vegetables.
  2. In a separate saucepan, heat the ghee over medium heat. When the ghee is hot, put asafetida followed by cumin seeds. Then add curry leaves, chilies and ginger. Add cashews and saute till they turn slight brown. Add tomatoes and spinach and cook them till the water from the tomatoes is gone.
  3. Stir in the lentils and rice to they curry (once lentils and rice is 90% cooked). If the Kichidi dries out too much, add up to 1 cup warm water.
  4. Garnish with coriander leaves and serve hot with yogurt, Lime Pickle and Bedekar Mango Chili sauces (pictured above).

All this was free, so click to register for upcoming programs or by calling the adult services reference desk at 412-366-8100, ext.113.

Thanks Ann! I really enjoyed your class.


Pineapple Habanero Tilapia

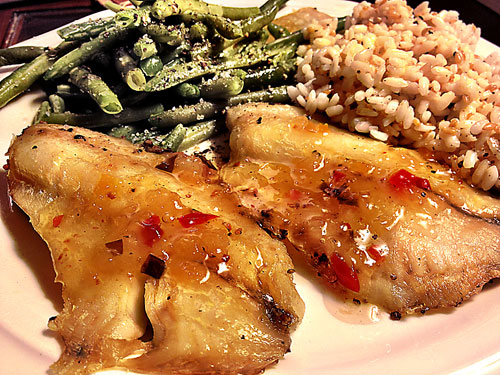
This is great during the work week. Between prep and cooking time, you can have a fabulous meal on your table, or couch (where we usually eat), in less than 20 minutes. I always have frozen fish on hand. I usually take the fish out of the freezer the night before and place in the refrigerator. Or, you can swing by your grocer and get it fresh.

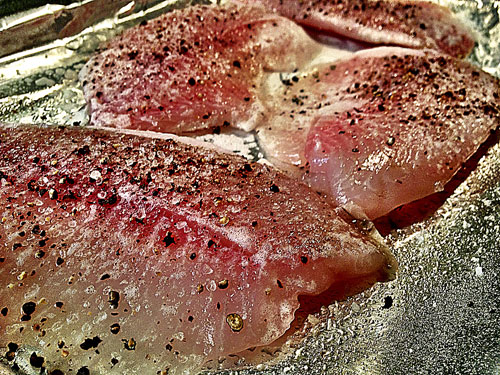
fish prep, photo by Jenny MacBethPreheat your oven to 400 degrees to get it nice and hot. Line a baking sheet with aluminum foil (makes for easy clean-up later) and spray with PAM or use a Misto. Sprinkle lots of sea salt and ground pepper on the fish. Spritz the fish with the Misto. Turn oven to broil and place fish inside. Cook for about 10-12 minutes, or until fish is white and flaky.

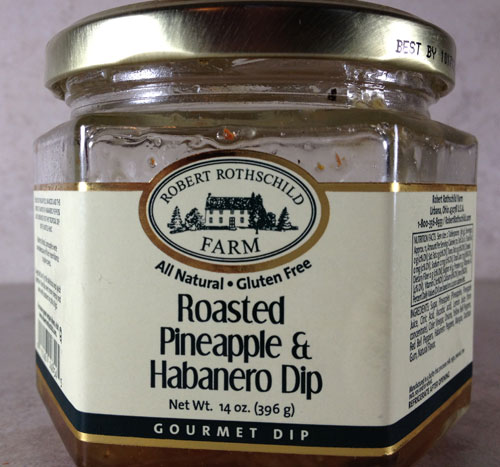
roasted pineapple habanero dip, photo by Jenny MacBethI love this stuff. I keep a bottle or two in my cupboards. Love it. Love it. Love it. I use it in dips, on chicken, on pork. OMG this stuff is perfect for fast-yummy meals. You can find it in most gourmet kitchen stores, or online.

Add a tablespoon to each piece of fish.

Tilapia, photo by Jenny MacBethWhile your fish is cooking, zap a bag of your favorite frozen veges and rice, and BAM! You’re done! The Boy loves this, and it makes me look like I know what I’m doing. Ha Ha!

Steamfresh is a great brand for frozen vegetables and even brown rice. Quick and easy.

You know what else would make this fish perfect? Wailua Wheat Ale. But of course, any wheat beer will do.


Brie Brew

Off to the homestead for some family fun this Easter holiday. I already made my Stuffed Pepper Soup for my sister’s brunch, but after trying this delectable dip, I had to put it on my list of what to bring. Oh so yummy!

Last week, we had a work party and my friend Kimberly made a brie dip using 8 oz. of brie, 8 oz. cream cheese and a stick of butter. Real butter. None of that fake crap. We were in heaven thinking about all the yummies we could add to it.

ingredients, photo by Jenny MacBethI decided to add basil, garlic, sun-dried tomatoes, and of course, beer.

Everything tastes better with garlic, butter and beer. And, the smell of fresh chopped basil is so divine that I could chop it up all day long.

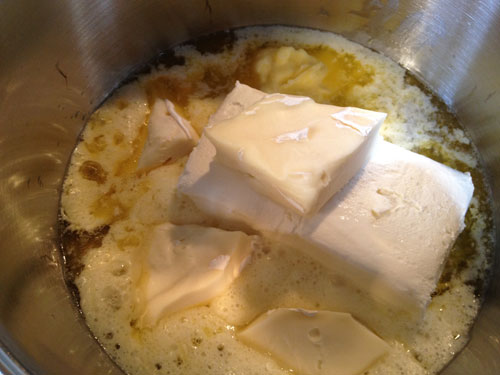
melting pot, photo by Jenny MacBethFirst, take your butter, cream cheese and brie (skin removed) and toss it in a pot. If you have a fondue pot, use it. However, since I’m traveling, I decided to do this stove top, and add to my fondue pot once I arrive at my sister’s.

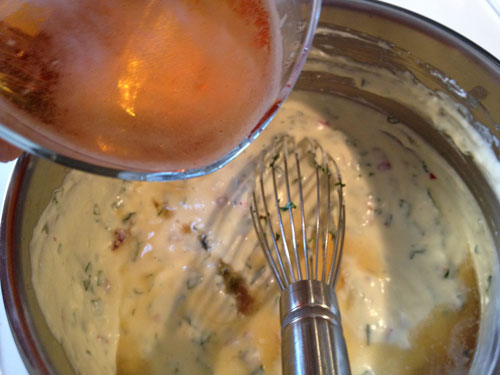
Let the cheeses and butter melt together while helping it along with a whisk on a low-medium heat.

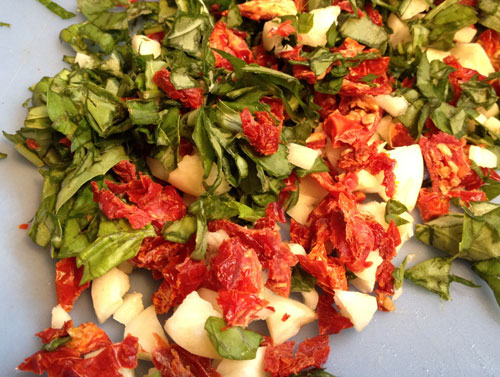
diced, photo by Jenny MacBethChop it up!

I used about 4 garlic cloves, a bunch of basil (about 5-10 leaves), and a small handful of sun-dried tomatoes. I fuse it all together and chop. Stir it in with the melted cheese.

beer, photo by Jenny MacBethNow for the fun part. Make sure you save some for the recipe.

Whisk in a little beer at a time. You do not want it too thin. I used about 1/2 cup of Samuel Adams Boston Lager.

bread, photo by Jenny MacBeth Cube it up!

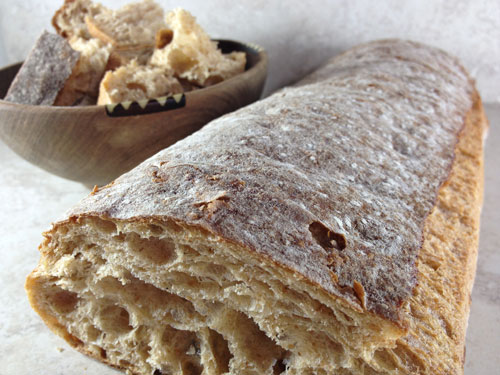
Buy your favorite crusty bread and cut into perfect, little dipping cubes. I used a wheat Ciabatta bread. I love all the nooks. Better to soak up all that yummy cheesy goodness. You could also dip pretzel rods in it, cooked chicken, even strawberries. Do whatever your heart desires.

That’s it!

If you try it, let me know what you think. Especially, if you add in different ingredients because this girl likes to eat.
Thanks for reading.