reynolds wrap, wraps, photo by Jenny MacBeth

Grab-N-Go, Mexican Stuffed Wraps


This recipe was created for a Reynolds Wrap contest. Bummer, I didn’t win. Boo hiss. I’m over it, but WTH, right?

The contest instructed to create a recipe using four ingredients from a list of foods they supplied, and of course, use Reynolds Wrap.

You can double the recipe and freeze it for those the Grab-N-Go busy days. I freeze for up to two months. My guinea pigs (aka co-workers) sure did like’em. You really can’t screw up the taste when cream cheese is melted inside. Yummy!
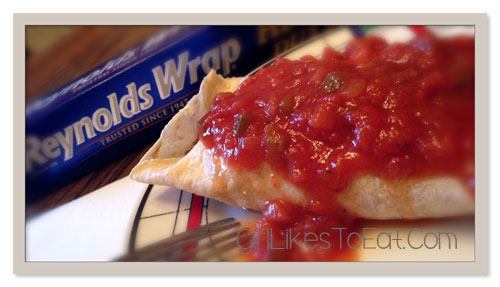
reynolds wrap, wraps, photo by Jenny MacBethYou Need

1 ½ pounds of 95% lean ground beef
1 (15 oz) can of black beans, drained
2 ears of corn on the cob, remove kernels from cob
1 cup of onion, diced
1 tablespoons of chili powder
1 (15 oz.) can of tomato sauce
1 (4 oz.) can of green chiles
zest from 1 small lime
2 tablespoons of cilantro, chopped
1 (4 oz.) Philly cream cheese
10 Flour Tortillas
2 cups of Mexican cheese, shredded
10 pieces of Reynold’s Wrap

Let’s get started…

Preheat oven to 350.

Brown ground beef in large non-stick skillet over high heat. No need to drain beef if you use 95% fat free. Reduce heat to medium and add black beans, corn, onion, chili powder, tomato sauce, green chiles, lime zest, and cilantro.

Mix it all together, cover skillet, and let it cook for 5 minutes over med-high heat.

Add in cream cheese. Stir constantly over med-high heat until cream cheese is melted.

Cut off a large piece of Reynold’s Wrap. Spray both sides of tortilla shells with cooking spray, and place in the center of Reynold’s Wrap. Repeat until all the shells are stuffed.

Add 1/2 cup of ground beef mixture to the shell and sprinkle with Mexican cheese. Roll up the tortilla shells, tucking in the sides. Place face down. Roll up with Reynold’s Wrap.

Place on a baking sheet and bake for 10 minutes. If you want to freeze a few, wrap it up as I mentioned, and put into a freezer bag. Grab one and cook it when you are ready to eat it.

Serve with salsa and sour cream and your favorite ale. Makes 10 tortillas.

So, I may not have won the contest, but I’d like to know what you think. Shoot me a message when you try it. Thank you.

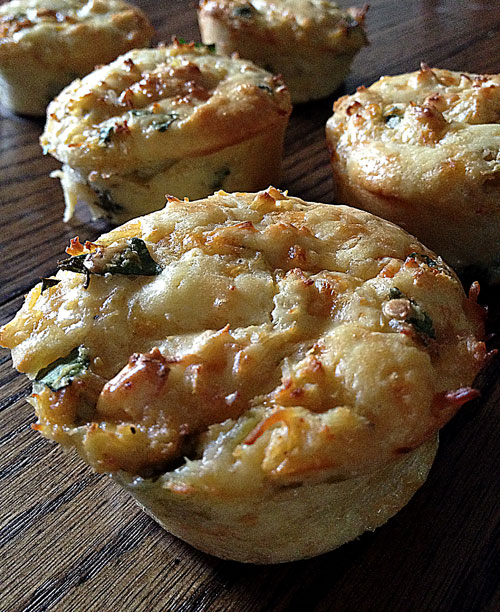


photo by Jenny MacBeth

Ranchero Chicken Muffins


The foundation of my recipe was inspired by Tablespoon.com. They always have cool ideas, and I love this recipe. I used Tablespoon’s Mini Tex-Mex Chicken and Cheese Pies as a foundation, but of course, I made my own version.

You’ll need

Featured by

ranchero chicken muffins featured by Bisquick

2 (13 oz.) cans of Chicken, drained

1 1/2 cups of shredded Low-Fat Monterey Jack Cheese

1 (4.5 oz.) can of Green Chilies

1/4 cup of low-fat Hidden Valley’s Buttermilk Ranch Dressing

1/4 cup of cilantro

1 green onion, finely chopped

1/2 of lime juice, freshly squeezed

For the batter

1/2 cup milk

2 eggs

1/2 cup of Bisquick

photo by Jenny MacBethLet’s get started…

Preheat the oven to 375.

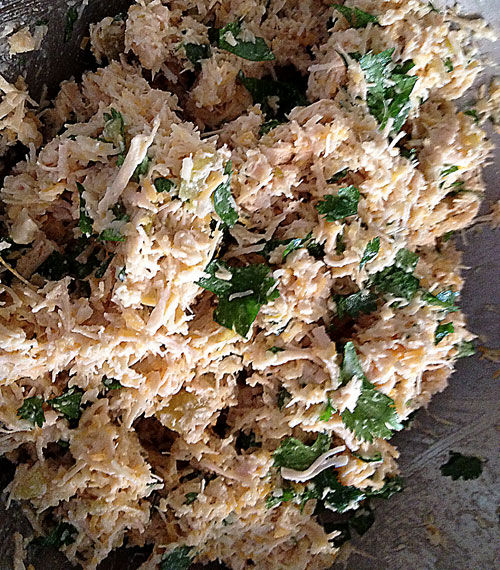
Using your hands mix together the chicken, cheese, chilies, ranch dressing, cilantro, onion and lime juice.

In another bowl, whisk together the batter.

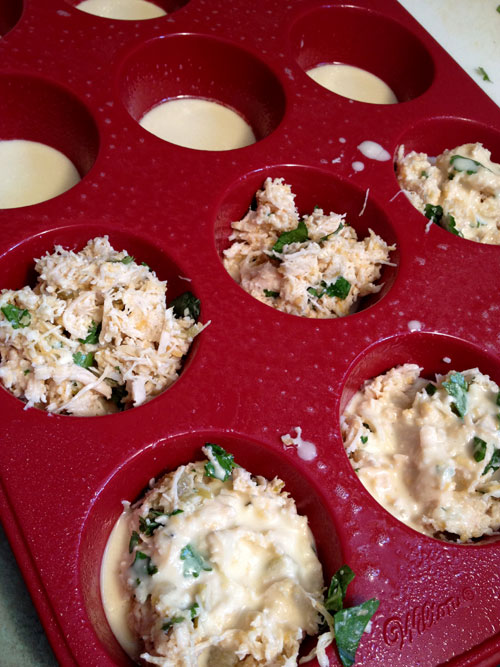
photo by Jenny MacBethI used a silicone muffin pan. LOVE it! If you use a tin pan, you’ll need to use cooking spray.

Pour a tablespoon of the batter into each muffin cup. Then place about two tablespoons of the chicken mixture in each cup. Then spoon over the mixture two tablespoons of the batter as demonstrated above.

Bake for 40-45 minutes, or until a toothpick is clean when inserted.

photo by Jenny MacBethServe it with salsa, sour cream, or ranch dressing for dipping.

I’m also making a Tuna Melt version with homemade potato chips using Old Bay seasoning. Yummy!

These yummy muffins freeze and reheat well. – Great for grab and go lunches.

Let me know what you think because this girl likes to eat.


Tuna Melt Muffin with Old Bay Homemade Chips, photo by Jenny MacBeth

Tuna Melt Muffins


This little bad boy is a spin off to the Ranchero Chicken Muffins I made last week.

I’m not a big tuna-in-a-can kind of girl, or Tuna Melts for that matter. However, I had a few cans in the cupboard and thought, “Perhaps if I do something like the Ranchero Chicken, I might like it?” So I did.

I went around asking a few friends, “What do you like in your Tuna Melt?” I picked a few items I would like, and that would hide the flavor of the canned tuna. =)

You’ll Need

3 (5 oz.) Cans of Chunk Light StarKist Tuna (in water)

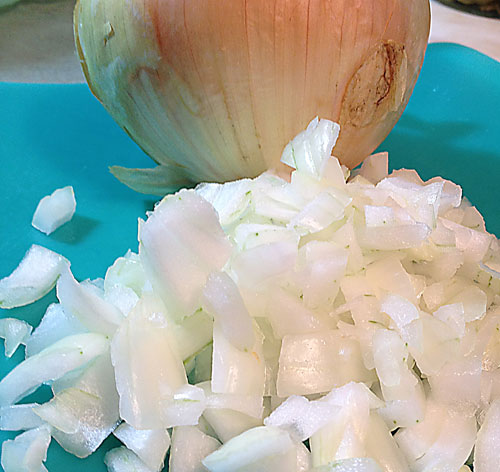
1 Cup sweet onion

2 Celery ribs

1/4 Cup green olives

1/3 Cup roasted red peppers (from a jar)

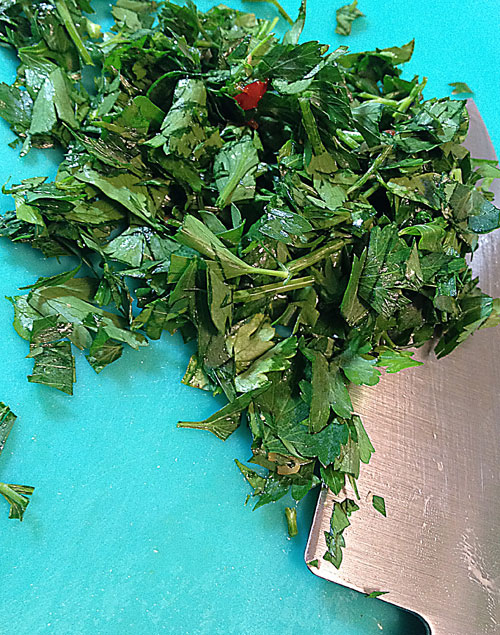
1/2 Cup of parsley

3 Tablespoons of melted butter

2 Cups of sharp cheddar cheese (shredded)

Sea salt and pepper to taste

For the Batter

For the batter

1/2 cup milk

2 eggs

1/2 cup of Bisquick

Let’s get started…

Preheat oven to 375.

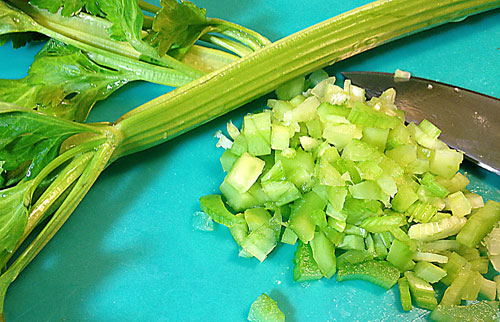
photo by Jenny MacBethDice up the celery. Toss it in a mixing bowl.

photo by Jenny MacBethDice up the onion. Toss it in a mixing bowl.

photo by Jenny MacBethContinue to dice up the parsley, green olives, roasted red pepper. Toss it in a mixing bowl.

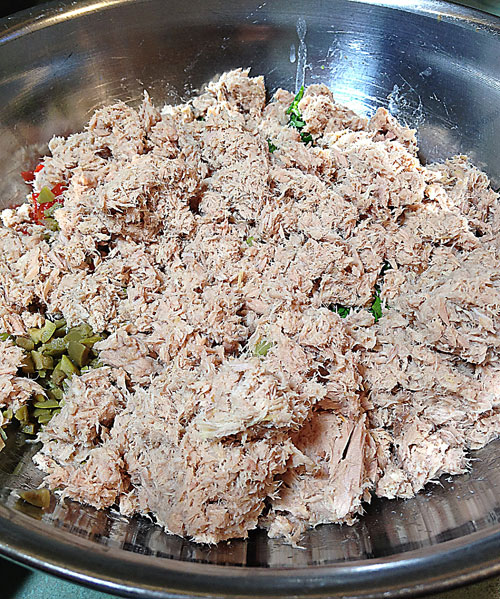
photo by Jenny MacBethDrain your tuna. You want to make sure all the water is out. Squeeze the excess water out with your hands making sure the tuna is dry. Toss it in the mixing bowl.

Pour the melted butter on top, and mix the ingredients together with your hands. I love using my hands because it reminds me of when I was small making mud pies. Only I didn’t find those so yummy.

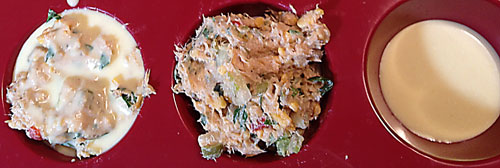
photo by Jenny MacBethSame theory as the Ranchero Chicken Muffins. I used a silicone muffin pan. LOVE it! If you use a tin pan, you’ll need to use cooking spray.

Pour a tablespoon of the batter into each muffin cup. Then place about two tablespoons of the chicken mixture in each cup. Then spoon over the mixture two tablespoons of the batter as demonstrated above.

Bake for 45 minutes, or until the top of the muffin is nice and golden. Let cool for 5 minutes before removing.

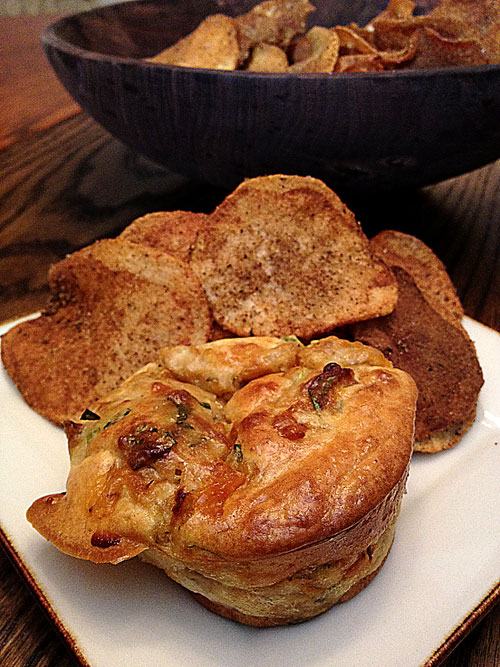
Tuna Melt Muffin with Old Bay Homemade Chips, photo by Jenny MacBethServe with Tabasco sauce, and chips.

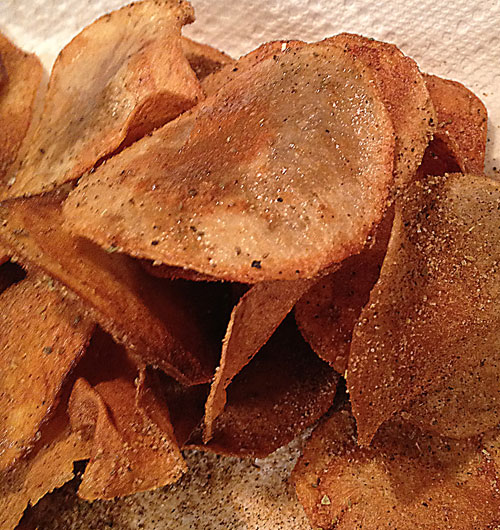
I made homemade Old Bay Potato Chips. Check it out.

Do you have any cool ideas for me to try? Let me know because this girl likes to eat.

Thanks for reading.


photo by Jenny MacBeth

Homemade Old Bay Potato Chips


Circa 1975, my mom use to make homemade potato chips. Oh! All I can remember is that I loved those chips. I think that’s why I’m so addicted to potato chips. I hate to admit it, but you really can’t eat just one.

To go with our Tuna Melt Muffins, I decided to make Old Bay chips. It is a perfect side dish for these muffins, and so easy.

You’ll need

Potatoes

Vegetable oil

Old Bay Seasoning

A brown paper bag

An Aluminum Foil Bag (for storage)

Let’s get started…

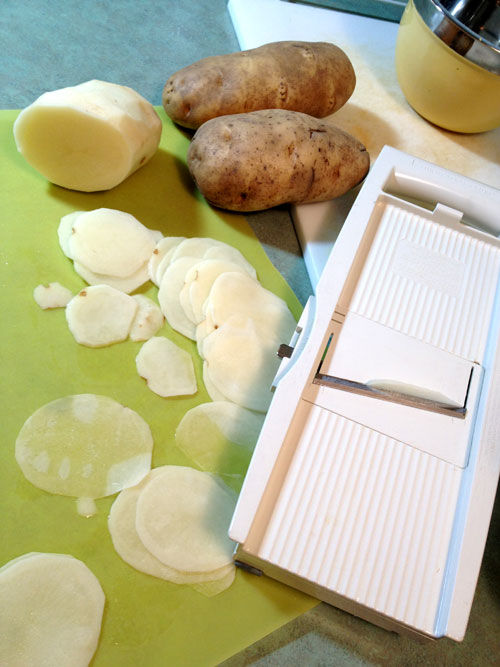
photo by Jenny MacBethSlice up as many potatoes as you wish. One large baking potato makes one bag of chips.

I use a mandoline slicer to help get the slices nice and thin.

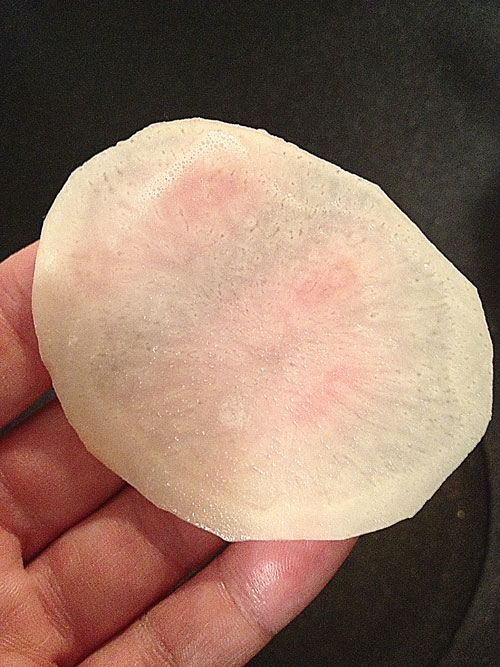
photo by Jenny MacBethYou want to make sure the potato is slightly transparent.

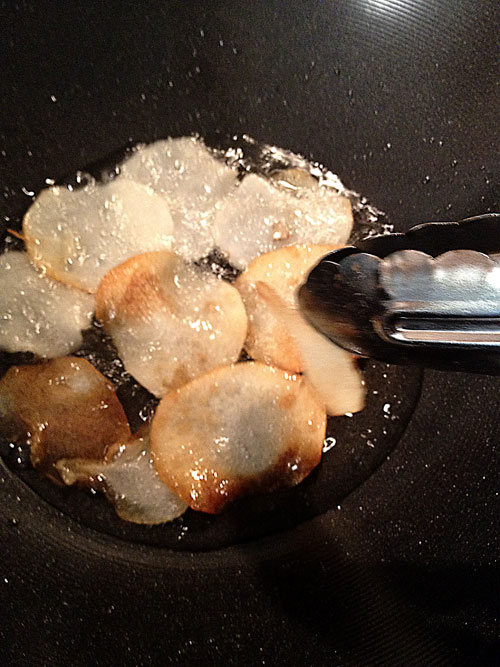
photo by Jenny MacBethHeat a small amount of oil over medium to high heat. I used a Wok which cooks food faster. You need to watch it carefully, flipping each slice constantly.

Once the slice is crisp and brown on both sides remove from the oil, and add it straight to your brown paper bag.

Sprinkle in Old Bay to the bag, close it and toss it. Check your chips to make sure the seasoning is nicely distributed. It doesn’t have to be perfect. If you want more Old Bay, add it. I just love Old Bay. It’s great for seafood dishes. Nom!

photo by Jenny MacBethYou can add any seasoning you like. Very easy, and Oh! so good.

The best freshness is when you make and serve. However, if you want to make a lot for leftovers, I recommend you store in a foil bag. It helps keep the chips crisp.

What’s your favorite flavor of chips? Let me know because this girl likes to eat.

Thanks for reading.