tossing ingredients into a 20 quart pot

Alternative to Canning Tomatoes

An easy alternative to canning tomatoes.


Canning your own sauce is awesome for the freshness, but I hate canning. It’s hot, messy, and time consuming. Not to mention, buying the tools gets expensive.

An old friend of mine taught me this alternative way to canning tomato sauce. I’ve been doing it for years. It’s easy, I love it, and I want to share it with you. Even if you don’t have an overflowing garden of tomatoes (I don’t), go to your local farmer’s market and grab a bunch. That’s what I do.

Side note: I was playing around with Photoshop’s watercolor tool. Not sure I like it, but the photos kinda look artsy.

You’ll Need

18-20 quart stockpot
Immersion blender
8 gallon size freezer bags
20 pounds of fresh tomatoes (I used heirloom), quartered
1 1/2 cups of EVOO
2 large Spanish onions, quartered
1 (8 oz.) jar of marinade already peeled garlic, or 30 cloves of garlic
1 cup of basil, packed
1/4 cup of sugar
1 tablespoon of Sea Salt
1 tablespoon of Pepper

Let’s get started…
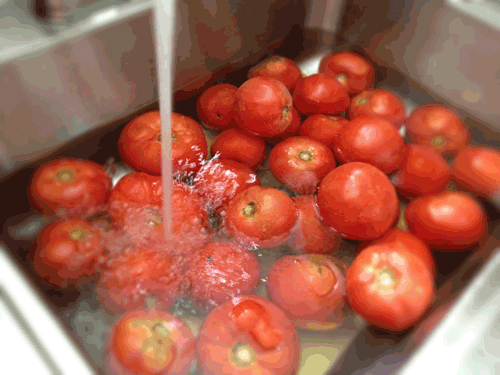
washing tomatoesTomato washing. If you buy from a farmer’s market, I wouldn’t worry about using any special vegetable wash. They usually do not use chemicals to help the growing process, but it’s always a good idea to ask. I just use warm water and a paper towel to wipe each one clean.
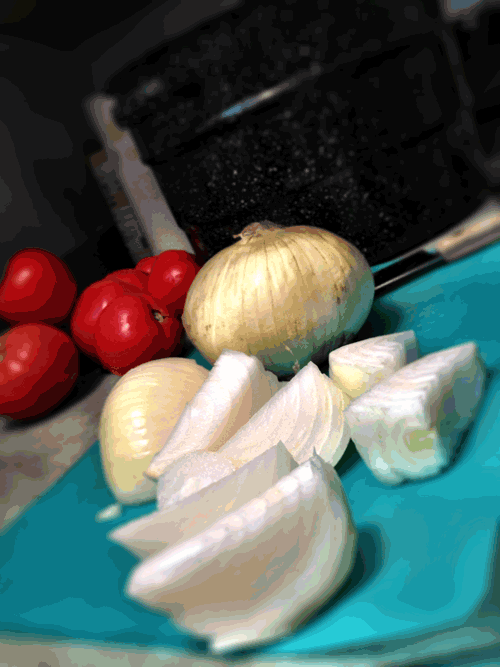
chopping onions in quartersThis recipe is also great for ‘no more tears.’ Instead of dicing your onions, chop your onions and tomatoes into big quarter size pieces.
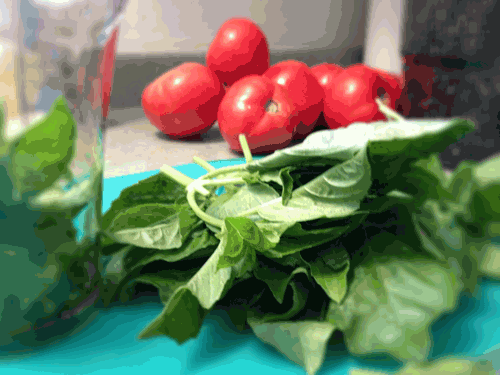
fresh basilNo need to chop up or remove the stems from your basil, and I will show you why.
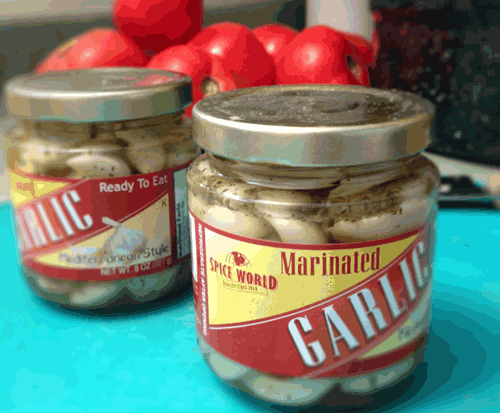
jar of peeled garlicFresh is best, but the point of this recipe is saving time. I use already peeled garlic to help me accomplish that goal.
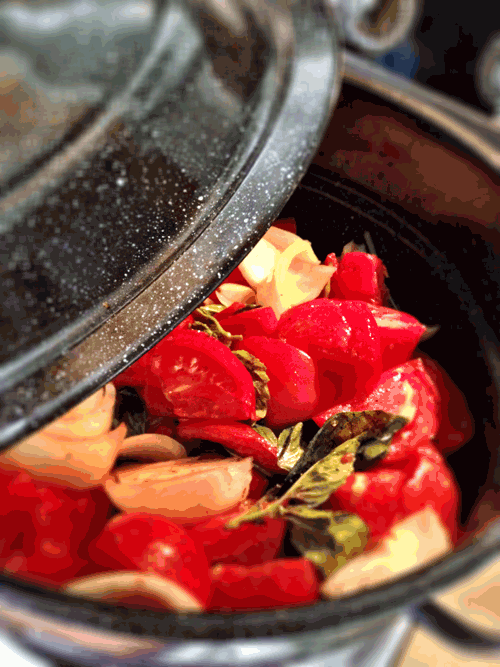
tossing ingredients into a 20 quart potToss it all into an 18 to 20 quart stockpot. On the stove, bring it to a boil on high heat. Cover and reduce to medium heat. Let the tomatoes cook down for about 10 minutes.
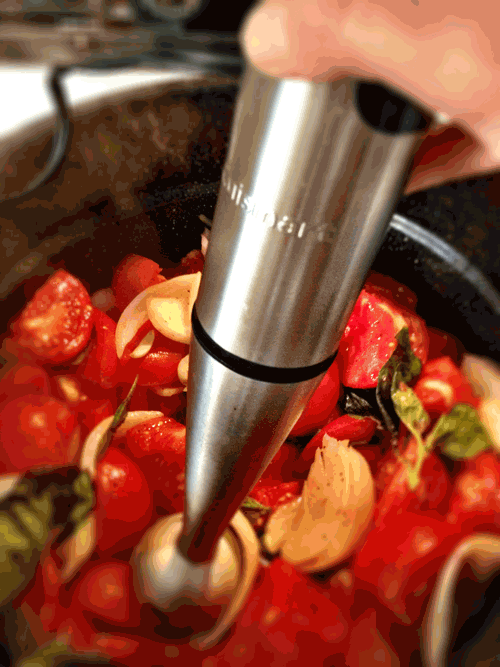
using an immersion blender in hot liquidBy using an immersion blender you save time…

  1. No fine chopping
  2. No skinning the tomatoes
  3. No long hours for it to all cook down

Using your immersion blender, start to blend all the ingredients together while it cooks. Warning: Do not lift hand tool out of the sauce while in use. Trust me. I’ve learned the hard way. Sigh.

using an immersion blender in hot liquidContinue to blend for about five minutes.

Once everything is smooth and blended, bring sauce back to a boil, cover and reduce heat to simmer for about 30 minutes. If needed, add more salt and pepper to taste.

finished tomato sauceMake sure your sauce is smooth. If not, take the immersion blender back through the mixture.

Remove lid, and let cool until easy to handle.
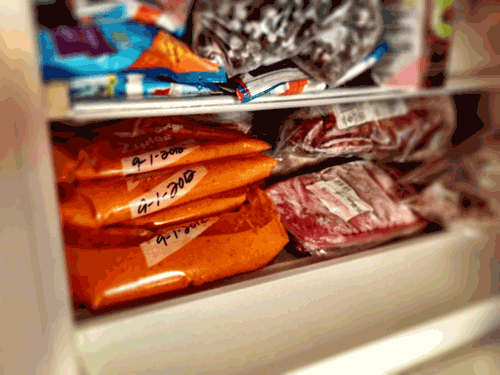
storing tomato sauce in freezerI don’t know about you but I do not have much freezer space.

I like that the baggies can lay nicely on top of each other. Take a black sharpie and write on the gallon size freezer bags, Tomato Sauce and the date.  Put four cups into each bag. Sauce will store in your freezer for about six to eight months.

Recipe makes eight baggies. That is equal to eight 26 ounce store bought jars. This saves me $20, and the freshness is well worth the effort. This is an all purpose sauce to be used for any recipe needing tomato sauce.

Little time. Little money. Little mess. No preservatives. A fresh alternative.


#GL2E
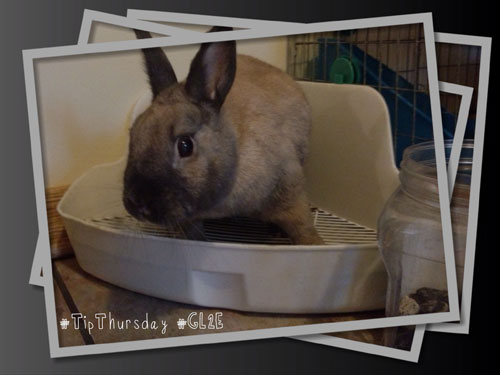
Recycle-Charcoal, Mr. Rabbit, Litterbox, Photo by Jenny MacBeth

Tip Thursday: Recycling Charcoal

Recycling Charcoal, Mr. Rabbit, Litterbox, Photo by Jenny MacBeth

Have a charcoal grill? Not sure what to do with the charcoal after cooking up your burgers? I got ya covered. Since I bought our Weber grill this summer (BTW, Great for BBQs), I’m finding cool ways to recycle the charcoal. There are a ton of uses for it. Just use Google. Of course, I can’t take credit for the few I mention below, can I? These are just the ones I’ve tried and found they work.


  1. My fav. I really love using it as a room deodorizer near litter boxes. Of course, you need to store it up high, outta danger.
  2. Great plant fertilizer. It contains nutrients that help plant growth in ‘some’ plants, inside and out. Google it!
  3. Got weeds? Crush used charcoal up and spread over your problem areas.
  4. Or, at the very least, save a few for your winter snowman.


Have some recycling charcoal ideas? Please share.

#GL2E, but also, #recycle.


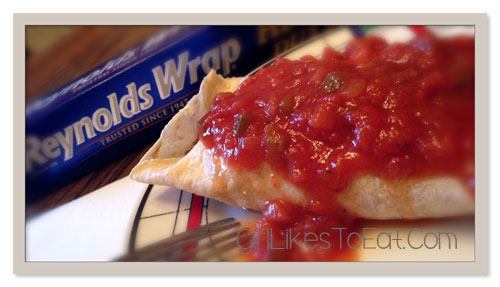
reynolds wrap, wraps, photo by Jenny MacBeth

Grab-N-Go, Mexican Stuffed Wraps


This recipe was created for a Reynolds Wrap contest. Bummer, I didn’t win. Boo hiss. I’m over it, but WTH, right?

The contest instructed to create a recipe using four ingredients from a list of foods they supplied, and of course, use Reynolds Wrap.

You can double the recipe and freeze it for those the Grab-N-Go busy days. I freeze for up to two months. My guinea pigs (aka co-workers) sure did like’em. You really can’t screw up the taste when cream cheese is melted inside. Yummy!

reynolds wrap, wraps, photo by Jenny MacBethYou Need

1 ½ pounds of 95% lean ground beef
1 (15 oz) can of black beans, drained
2 ears of corn on the cob, remove kernels from cob
1 cup of onion, diced
1 tablespoons of chili powder
1 (15 oz.) can of tomato sauce
1 (4 oz.) can of green chiles
zest from 1 small lime
2 tablespoons of cilantro, chopped
1 (4 oz.) Philly cream cheese
10 Flour Tortillas
2 cups of Mexican cheese, shredded
10 pieces of Reynold’s Wrap

Let’s get started…

Preheat oven to 350.

Brown ground beef in large non-stick skillet over high heat. No need to drain beef if you use 95% fat free. Reduce heat to medium and add black beans, corn, onion, chili powder, tomato sauce, green chiles, lime zest, and cilantro.

Mix it all together, cover skillet, and let it cook for 5 minutes over med-high heat.

Add in cream cheese. Stir constantly over med-high heat until cream cheese is melted.

Cut off a large piece of Reynold’s Wrap. Spray both sides of tortilla shells with cooking spray, and place in the center of Reynold’s Wrap. Repeat until all the shells are stuffed.

Add 1/2 cup of ground beef mixture to the shell and sprinkle with Mexican cheese. Roll up the tortilla shells, tucking in the sides. Place face down. Roll up with Reynold’s Wrap.

Place on a baking sheet and bake for 10 minutes. If you want to freeze a few, wrap it up as I mentioned, and put into a freezer bag. Grab one and cook it when you are ready to eat it.

Serve with salsa and sour cream and your favorite ale. Makes 10 tortillas.

So, I may not have won the contest, but I’d like to know what you think. Shoot me a message when you try it. Thank you.


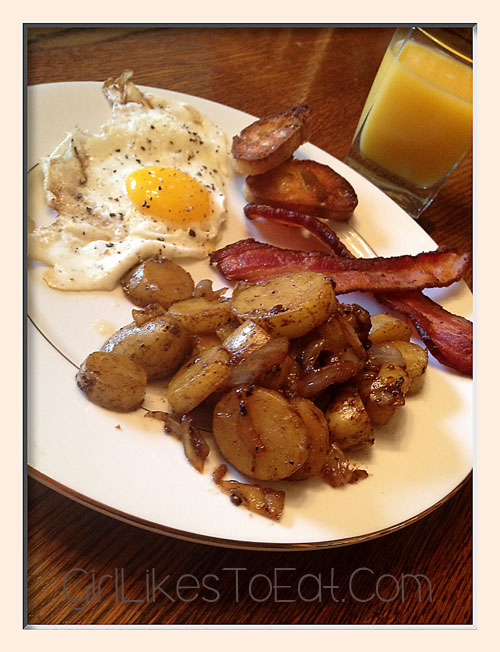
Cast Iron Skillet, Sweet Fried Potatoes

Breakfast is my favorite meal. Mostly because I always have bacon. Since we moved into our new home, we’ve had overnight guests just about every weekend. Absolutely love a full house for breakfast served with mimosas.

This recipe is my sister, Donna’s. I’m also thinking that it’s a Pittsburgh thing because I know a lot of people who serve their fried potatoes with sugar and onions. It’s the best!

Cast Iron Skillet Sweet Fried Potatoes, Photo by Jenny MacBeth

You’ll need:

1/2 stick of real butter
1 (24 oz.) bag of fingerling potatoes, sliced
1/4 cup of brown sugar
1 1/2 cups of sweet onion, chopped
4 garlic gloves, minced
Sea salt and fresh ground pepper, to taste

Let’s get started.

Brown butter in cast iron skillet on medium-high heat. Once the butter is brown, stir in the potatoes and cook for three minutes.

Reduce heat to medium and add in the brown sugar, onion, garlic, salt and pepper. Keep tossing the potatoes until soft and onions are slightly blackened with a caramelized coating. This takes roughly five minutes.

Serve with your favorite breakfast eggs and bacon (of course). This is even great with your favorite dinner.

The cast iron skillet is the secret. I’ve made this same recipe in a non-stick skillet and they do not taste the same.

Do you use sugar in your fried potatoes?

photo by Jenny MacBeth

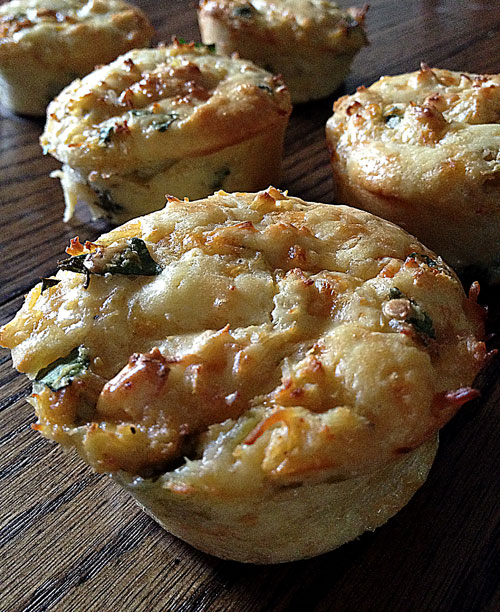
Ranchero Chicken Muffins


The foundation of my recipe was inspired by Tablespoon.com. They always have cool ideas, and I love this recipe. I used Tablespoon’s Mini Tex-Mex Chicken and Cheese Pies as a foundation, but of course, I made my own version.

You’ll need

Featured by

ranchero chicken muffins featured by Bisquick

2 (13 oz.) cans of Chicken, drained

1 1/2 cups of shredded Low-Fat Monterey Jack Cheese

1 (4.5 oz.) can of Green Chilies

1/4 cup of low-fat Hidden Valley’s Buttermilk Ranch Dressing

1/4 cup of cilantro

1 green onion, finely chopped

1/2 of lime juice, freshly squeezed

For the batter

1/2 cup milk

2 eggs

1/2 cup of Bisquick

photo by Jenny MacBethLet’s get started…

Preheat the oven to 375.

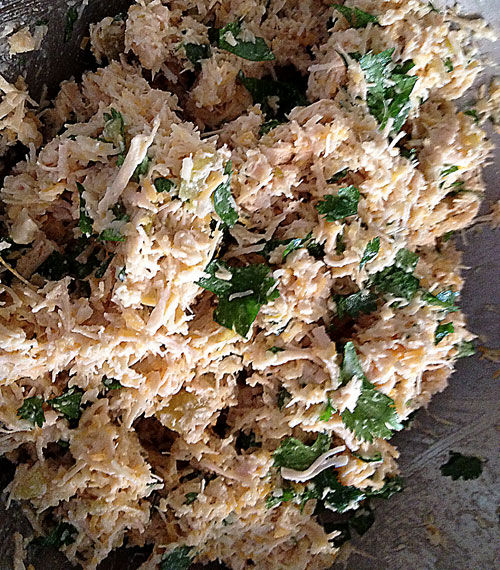
Using your hands mix together the chicken, cheese, chilies, ranch dressing, cilantro, onion and lime juice.

In another bowl, whisk together the batter.

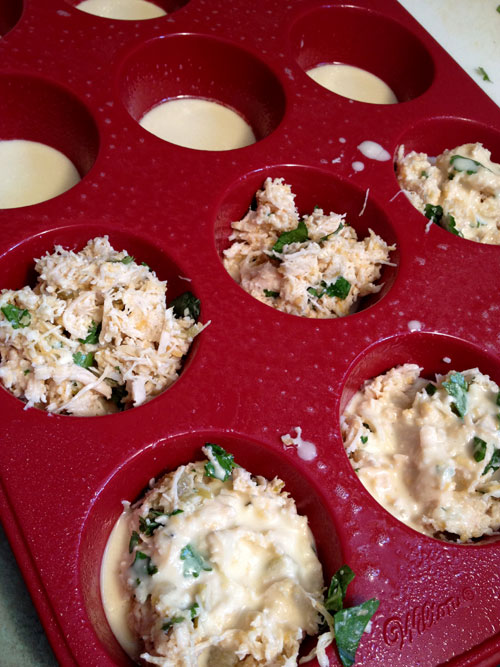
photo by Jenny MacBethI used a silicone muffin pan. LOVE it! If you use a tin pan, you’ll need to use cooking spray.

Pour a tablespoon of the batter into each muffin cup. Then place about two tablespoons of the chicken mixture in each cup. Then spoon over the mixture two tablespoons of the batter as demonstrated above.

Bake for 40-45 minutes, or until a toothpick is clean when inserted.

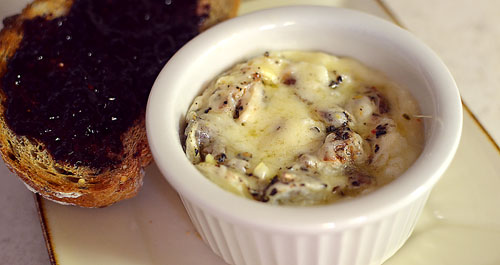
photo by Jenny MacBethServe it with salsa, sour cream, or ranch dressing for dipping.

I’m also making a Tuna Melt version with homemade potato chips using Old Bay seasoning. Yummy!

These yummy muffins freeze and reheat well. – Great for grab and go lunches.

Let me know what you think because this girl likes to eat.


Three Minute Gourmet Microwave Breakfast

Three Minute Microwave Gourmet Breakfast


I don’t know about you, but I usually wait for the weekends to make a gourmet breakfast. No time to waste during the week. I usually hit the snooze button for the umpteenth time before I have to drag my butt out of bed.

Breakfast is my favorite meal of the day. I love it so much that I even eat it for dinner from time to time.

Here is a perfect recipe to get a yummy start before heading off to a busy day.

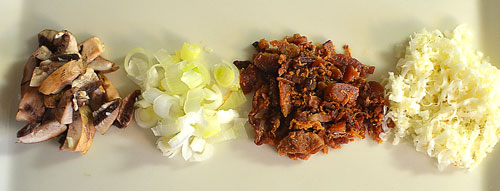
ingredients in the gourmet microwave omeletYou’ll Need

1/3 cup All Whites or 2 large eggs
2 Tablespoons of milk
1 Tablespoon of real bacon bits, or baked ham lunch meat (optional)
1 Tablespoon of your favorite veggies. I used a green onion and mushroom
2 Tablespoons of your favorite cheese (shredded)
Salt and pepper to taste

Let’s get started…

In a small microwave safe dish, or a coffee cup, mix together eggs, milk, bacon, and veggies. Microwave on high for 1-1/2 minutes.

Sprinkle cheese on top and microwave until cheese is melted; about 10-20 seconds depending on how much cheese you use.

Recipe calories is 279, including bread.

Three Minute Gourmet Microwave Breakfast While your eggs microwave, toast a slice of bread, and top it with your favorite fruit spread. I recommend a multi grain Tuscany style loaf. Yummy!

Tip: If you use bacon bits, or a salty meat, you may want to omit the salt until you taste it.

Done! Breath deep. It’s going to be a great day.

I would love to hear from you. Contact me because this girl likes to eat.


BYOB


Here’s a great cork tip from one of our readers Valerie Lans.

This will save you lots of cashola.

Those that know me know I like to enjoy a glass or two of wine when dining out. So, I did the math…

Two glasses of wine for me can cost $14 (at least). Plus, two for my dinner companion. That equals 28 big ones. Forget buying by the bottle, which starts at $30. My tip is take your own bottle.

Most places are happy to just charge you the cork fee. which is about $2 per person. Call ahead before you go and see if they will allow you to bring your own bottle. You would be surprised how many restaurants actually allow it.

We enjoyed a lovely dinner last night at the Cheesecake Factory. I called ahead and they charged $10, and I took my $9 bottle of wine. There you go! $$ SAVINGS $$


Well, I’m not a wine drinker, so I called up my local Cheesecake and asked, “Does the cork fee include beer?” Amazingly, it does! If it’s a beer they do not have in stock, or if it’s a special occasion, bring it in and talk with a manager. They will set you up. Keep in mind people, you can’t carry in a case of beer. Keep it classy…

I also believe they will waive the cork fee. All you have to do is ask.

Thanks Val for the great tip. I did not know that liquor license establishments would allow this, nor did I ever think to ask. You ROCK! And, a SHOUT OUT to The Cheesecake Factory for excellent customer experience.

Do you have cool ideas? Please share because this girl likes to drink.

Thanks for reading.


smoothie preparation

Frozen Fruit Smoothie


We’re big on fruit smoothies. I make one just about every day. I would really like to add beer, but this is for breakfast after all. Ha!

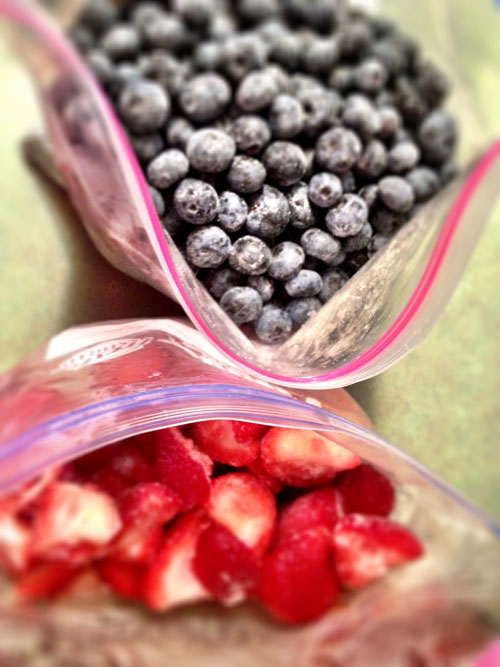
frozen fruitSAM’s Club has yummy produce. I buy bulk fruits, clean them, and toss in a Ziploc freezer bag. We always have blueberries, strawberries and bananas on hand.

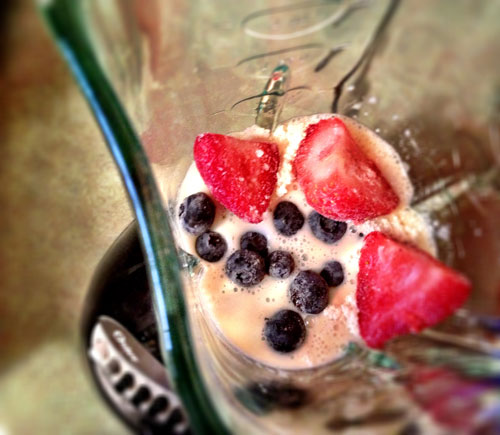
smoothie preparationInstead of ice, I use frozen fruit to make it rich and thick. I use one cup of milk, a scoop of protein powder (optional), and whatever fruit that tickles my fancy. Toss it in a blender until blended. Done!

Sometimes I add in a spoonful of peanut butter. Very. Delicious.

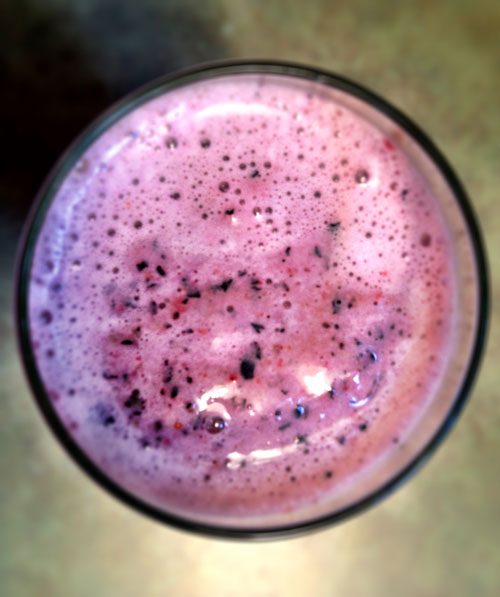
breakfast smoothieA smoothie for breakfast really jump starts the day, and only takes five minutes to whip up.

Be creative! What do you like?

finished salad

Low-Cal Salad Dressing


Since the girl likes to eat A LOT, she needs to watch what she eats. On occasion.

Actually, this healthy twist is a fully awesome alternative to regular store bought salad dressings.

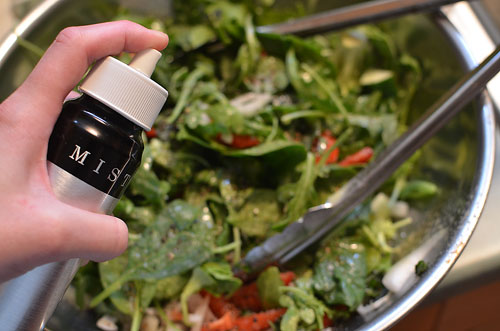
sprtiz with misto

Put a few spritz on your salad using a Misto with extra virgin olive oil. This will help hold the seasons to the leafy greens.

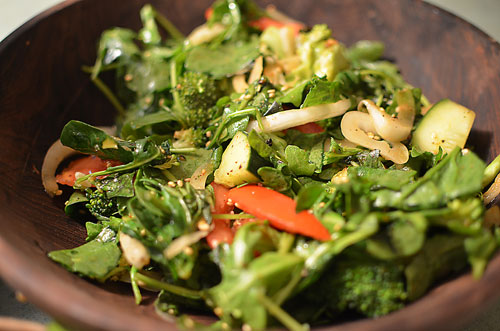
Every time I make a salad I try different greens to give it a variety in flavor. Especially, when we eat salads just about every day. For this salad I used:

Spinach

Plum tomatoes

Baby arugula

Fresh basil leaves

Sweet onion

Cucumber, skin on

Toasted sesame seeds

I always have a bag of toasted sesame seeds in my cupboard, and add it to many dishes. Sesame seeds give a great peanut’y crunch to your food.

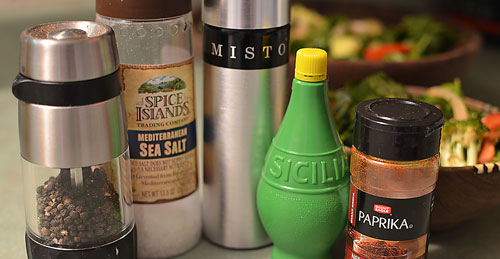
ingredientsFor the dressing I just use spices in my cupboard. I also change the spices for each salad to give it a different flare. For this salad I used:

Crushed sea salt

Fresh cracked pepper

Paprika, a few dashes

Lime juice, a few squirts

finished saladMisto your greens, sprinkle on the spices and toss. That’s it!

I highly recommend you play around with your spices. It’s lighter and gourmet.

What are your favorite spices? Please share because this girl likes to eat.


Cream Cheese Chicken Pasta


Discovery! I was cleaning out my refrigerator and found a brick of cream cheese. The expiration date was approaching next week, so I thought, “I need to use this up. But, er, how?”

I opened a bottle of beer and by the time I finished, I thought, “Let’s melt it down and pour it over pasta.” Since I have 20, 10 for $10, boxes of pasta.

You’ll Need:

Whatever you like. Seriously. I pulled out a few items, tossed it in a pot and Voilà ! Fantastico ! (I’m starting to make up my own words). Hungry, I didn’t think that this was going to be a blog post. I didn’t measure out the ingredients, and there are no photos of the preparation. However, when I was finished, I realized that it was really good and kicked myself in the arse.

I Used:

1 pound of pasta, cooked to taste.

A bag of frozen broccoli

Oil cured black olives, pitted

Shredded Chicken, precooked. I had two breasts leftover. Or, use canned chicken. Why not?

A handful of cherry tomatoes

Some diced parsley

About 5 cloves, squished or chopped – whichever you prefer.

A bunch of green onions, chopped, and included some of the green stems

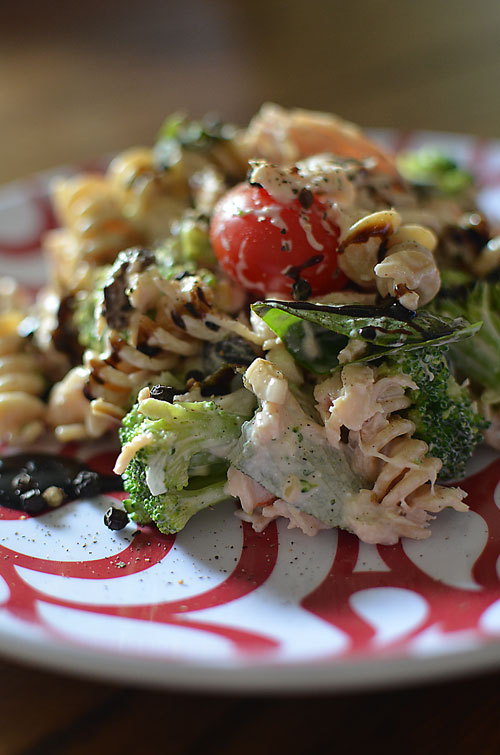
Balsamic glaze

Salt and Pepa

Photo by Jenny MacBeth

How I prepared it…

I cooked and drained the pasta. In the same pasta pot, I put in the green onions, garlic and cream cheese over a medium heat until the cheese melted. I added in the pasta and all other ingredients, minus the balsamic glaze. I used the glaze as a garnish by drizzling a little over the pasta. I served it up warm with a crusty bread and beer.

All good things can only come from cleaning out your refrig.

Have you put everything-but-the-kitchen-sink in a pot and it turn out Fantastico? Please share because this girl likes to eat.